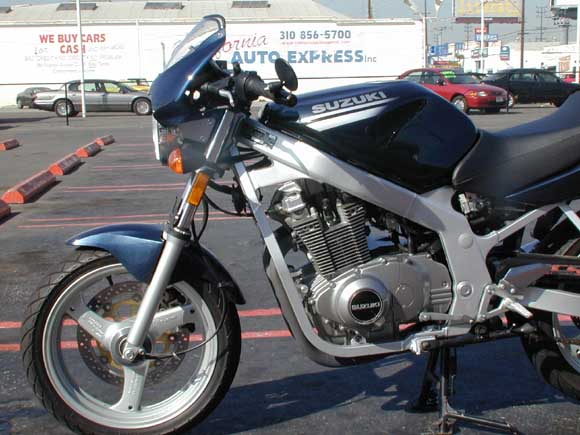
Suburban-Machinery make two types of bars for the SV650, the Type 1 and Type 2.
These are a modern version of the old "clubman" style handlebars that mimick the more aggresive position afforded by clip-on
handlebars which were only available stock on '89 US version GS500's. They are a direct bolt in replacement for stock
handlebars and can be installed in 1/2 hour. Both Type 1 and Type 2 fit the GS well. The Type 1 set the handlebar ends lower
by about 1" than the Type 2's.
The following is what I did to install the Type 2 bars (same for Type 1).
1. Place bike on centerstand, disconnect battery if so inclined (I wasn't).
2. Remove bar ends.
3. Remove left grip. You can cut it off and replace both grips with new or do as I did and slide a long
screwdriver inbetween left grip and handlebar from the outside, slowly working it in and around to break the glue. Twist grip
off. It took a little effort to get it off but not much time on my 2001 GS. Right/throttle grip does not need to be
removed; it comes off with throttle body.
4. Remove the 2 or 3 screws holding the left switchgear halves together and loosen the left switchgear
and clutch perch. Do not remove completely yet. Disconnect the wires from switchgear to clutch perch, connection point
is obvious and is simply a plug connector.
5. Remove the 2 or 3 screws holding the right switchgear halves together and loosen the right side switchgear/throttle
body and brake lever perch/master cylinder.
6. Remove 4 allen head bolts holding handlebars to triple clamp. You may need to remove chrome trip
caps from these bolts by prying them off with a screwdriver (if you still have them).
7. Carefully work the left and right side switchgear and levers off by sliding the handebars in either
direction to give more slack on cables and wires. You should do the master cylinder last and have new handlebar handy so you
can slide master cylinder on first without setting it down. That way you don't have to worry about keeping it vertical and
worrying about the brake fluid spilling (maybe I worry for nothing but didn't want to take a chance).
8. Slide new handlebar in either direction to install throttle body, levers and switchgear (for slack
on cables and wires again) by sliding them on from ends. Bar is predrilled for mounting nubs on inside of switchgear so note
that holes are right side up when you install bar. Make sure you carefully re-route the cables and wires since these new bars
are lower than stock and wil require yo to push everything down a bit. The master cylinder banjo fitting in particular will
touch the tach housing and requires a llittle finess in getting it just right.
9. Tighten the 4 bolts on handlebar clamp, not completely yet.
10. Tighten all switchgear, lever and perch bolts/screws tight.
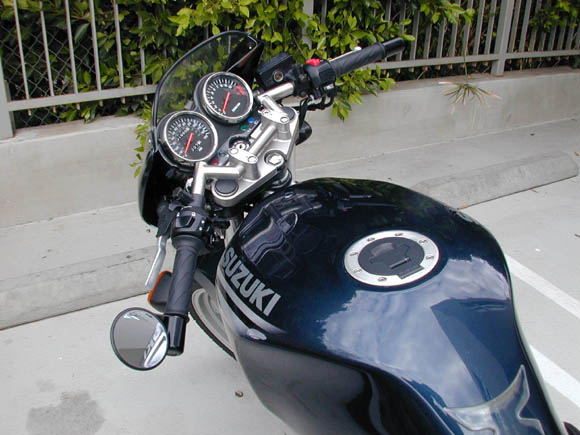
11. Twist handlebars around until you get them where you want. Make sure you get them centered (the
center of the bars is less than 1/4" clear of the clamps on each side-note the bars are different now than in their website
photos). Tighten down the 4 bolts holding handlebar.
12. Reinstall left grip using either grip glue, available at local dealer, or soapy water, which helps
slide it on easier and when dry helps grip adhere.
13. Reinstall bar ends.
14. Make sure everything is tight and start it up, making sure all lights, kill switch, etc work.
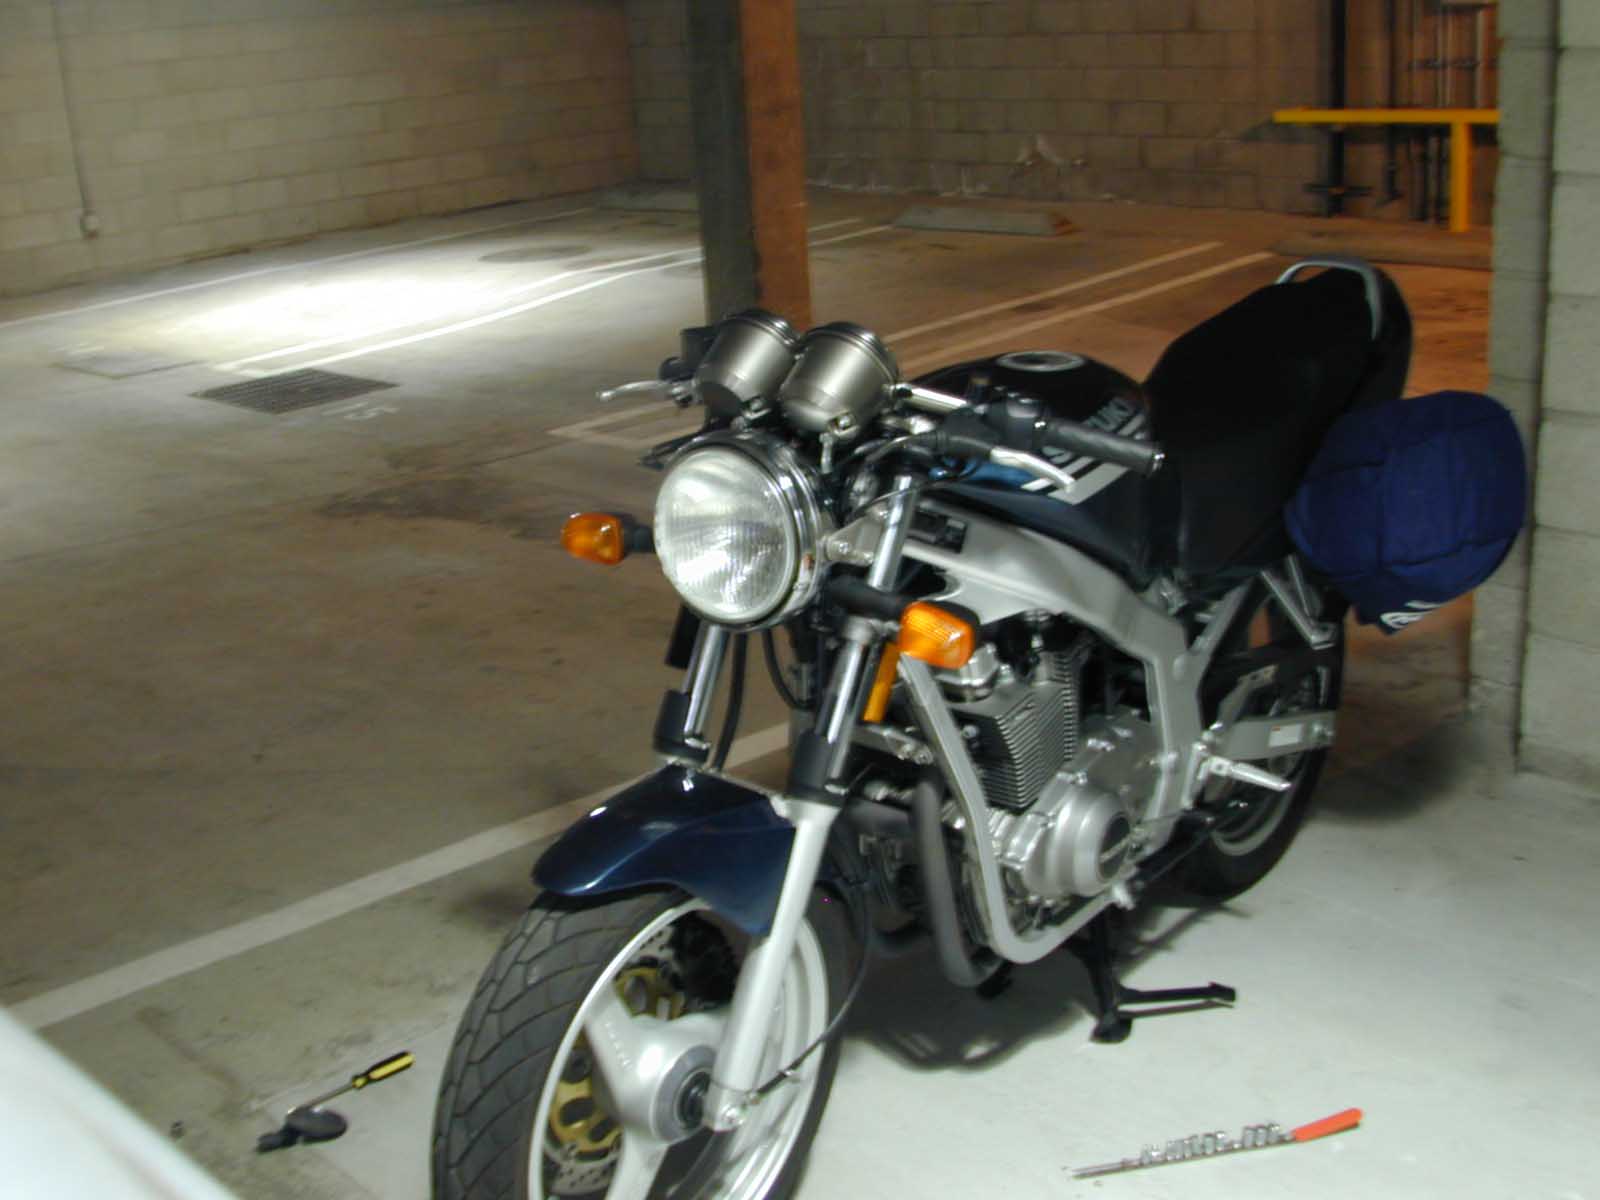
You will find clearance problems between the master cylinder and the Tach housing. You can fix this
permanently by replacing the master cylinder with one form a 88-93 Katana GSX-1100. Otherwise, simply finesse teh bar rotation
and the osition of the brake lever to get the master cylinder brake line banjo fitting to rest against the Tach housing. Mine
is this way and it works fine so I'll get a new master cylinder someday but not now. You will have this same clearance problem
with Drag bars as well.
These Suburban-Machinery bars are not cheap and I was lucky to have gotten them for a song,
but the above can generally apply to other handlebars, such as Drag Bars but these require drilling holes for switchgear nubs
(I don't recommend removing the nub, but it's up to you-many have done this). At full lock the S-M bars still give good
clearance to tank.
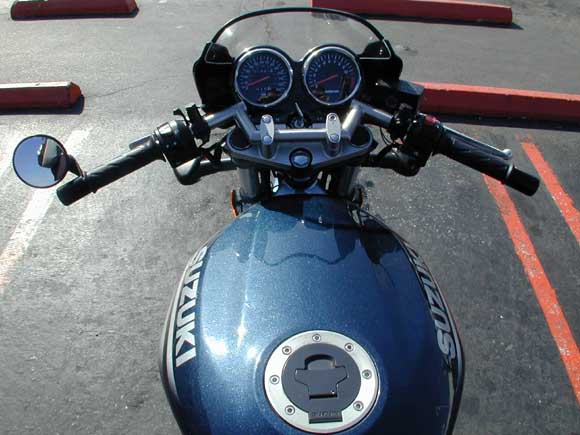
For comparison:
Stock handlebars
Suburban-Machinery Type 2 bars
Dia. 7/8"
Dia. 7/8"
Height 3 1/2"
Height 1"
Width 27 1/2"
Width 26"
Pullback 7 1/2"
Pullback 6 1/2"