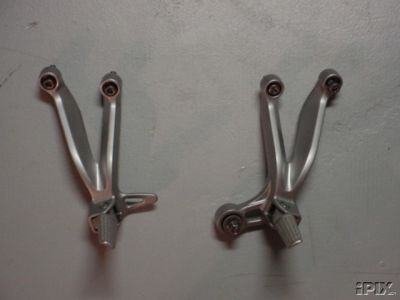
Here is all the necessary stuff-pegs and brackets from '01 GSXR600, aftermarket
exhaust hanger bracket from Two Bros. Racing (part number forthcoming), assorted stainless steel nuts and bolts, zip ties.
Why do this you ask? Well, if you've bent your brackets in a crash this is a great way to replace them.
If you haven't and you're obsessed with the look of the bike like I am and were also inspired by the SV650 rear peg "how-to"
by John Callahan at gstwin.com then there you go.
The basic How-To :
1) Remove seat, grab rail and rear body panels.
2) Remove inner fender (and turn signals, taillight as necessary).
3) Cover bike to protect from metal dust.
4) Using an angle grinder cut off both rear peg brackets. Once removed
grind subframe down smooth. you may have to cut off a zip tie holding some wiring and the bungee tiedown bracket will have
to be unbolted and moved out of the way, both on left side. You'll also need to unbolt voltage rectifier on right and move
out of the way -no need to unplug anything though.
5) Take gsxr pegs/bracket and clamp them to back/inside of subframe where they'll go. Mark a line on
the bracket with pencil along bottom subframe rail. Use this line to grind to. Grind away front face of
mounting point on bracket till you get to flat area bolts rest against (you are removing raised lip). if you ground away
material to line you drew you'll get the brackets to sit snug against the subframe rail.
6) Clamp gsxr bracket to outside of subframe approximately where old ones were. Measure location from
same fixed point each side to insure peg location is same both sides. Very important you get them in same place as stock pegs
you cut off -inner fender has cutout for where the stock brackets go and if you install new ones same place they'll look completely
OEM against the fender.
7) Mark, centerpunch and drill holes for mounting bolts. I drilled 5/16" diameter holes for bolts same
size as ones that came with the gsxr pegs. Make sure you drill straight and horizontal through both sides of subframe and
drill a pilot hole first.
8) Clean area with denatured alchohol, mask off and paint portion of subframe silver to match frame
color. You'll have to experiment to find the right silver but most is covered with rear body panels anyway. You can also order
the matching silver from color-rite.com (Color-Rite code 13L, for Suzuki MA4033- Bright Silver).
9) Mount new brackets with stainless steel allen head bolts and locking nuts to inside of subframe.
You will have to buy new bolts and locking nuts to replace the too short stock GSXR ones.
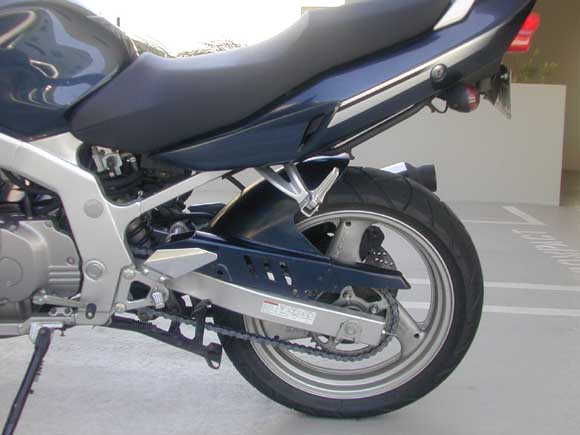
10) Reinstall inner fender. I trimmed the leading edge off mine since I
had it off. I do n't need this extended fender part since I have a hugger -see photo of left
side-completely unrelated to pegs. This would protect the battery/CA emissions equipement.
11) Reinstall body panels and rest of stuff.
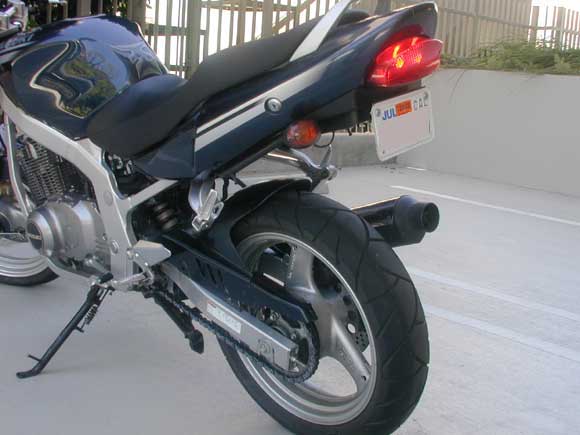
12) Make and mount bent 1/8" thick aluminum bracket for exhaust using the Two Bros. exhaust strap (for
4" end can-part number forthcoming when I get right one delivered). You'll need about 4"-6" of stock and drill holes at both
ends. Round ends to match brackets. You might have to remove exhaust in order to cut away welded stock tabs-or you might manage
to remove while on the bike. Either way you should remove it for a cleaner look. Make sure you have about 1/8" clearance from
exhaust to swingarm. Check before and after you tighten everything up.
13) Step back and look at how sexy these curving pieces look.
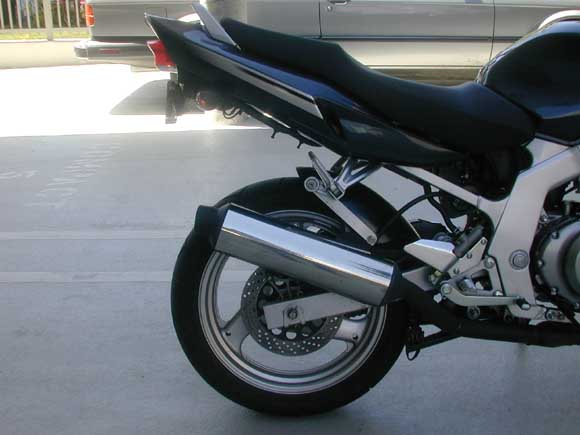
[I have had to temporarily install an exhaust bracket until I make a correct diameter strap. I
used 1"x1"x1/8" aluminum angle-see photo of right side]
Owners of 1989-2000 models with different rear body panels can also do this but the rear panels sit
1" lower at peg bracket location so they'll sit against the bracket and bulge out some.